So I've never really been good at figuring out how much I should leave around my master for the mold box. I think the rule of thumb is at least 3/4 of an inch, but I probably ended up closer to 1/2 in. The mold overall is roughly 1 1/2 inches thick, so about 3/4 thick for each part of the two part mold.

Clay lay-up is really tedious work. The basic process for a two part mold is your prop is split in half by the clay - the first half of silicone is poured, then the clay is removed and the second half is poured. The reason for this split is because this is where your parting line will be once you've cast the piece in resin. I started with a base layer of clay. I then placed my blade how I wanted it in the mold and added a thin layer of clay all around it. I like to build in my own pour and air vent 'holes' in the mold before I pour my silicone. I do this with acrylic rods in this case 1/4 of in piece I cut and sanded to the appropriate size/angle. (I also used the 1/4inc and a [3/8 or 1/2] acrylic rod for the registration keys in the mold).

It is very important that you use a mold release on all surfaces before pouring your silicone. I used Mann-Ease Release 200. The silicone I am using is Smooth-On Mold Max 14NV. The main reason for this type of silicone is because I do not have a vacuum degassing system. If I did, I would prefer Mold Max 30. If anyone is curious for the mold box I am using some Melamine board that I cut to the desired length and clamped together with some quick clamps. [Melamine seemed to have worked pretty well I did have some peeling on the surface after removing the box, but there was no sticking with the silicone] In the past I've used thick sheet acrylic (1/4), thin sheet acrylic (1/8), but I've also seen people use Lego bricks to build a structure around there object. Imagine if it doesn't leak and isn't porous, it should pretty much do the trick.

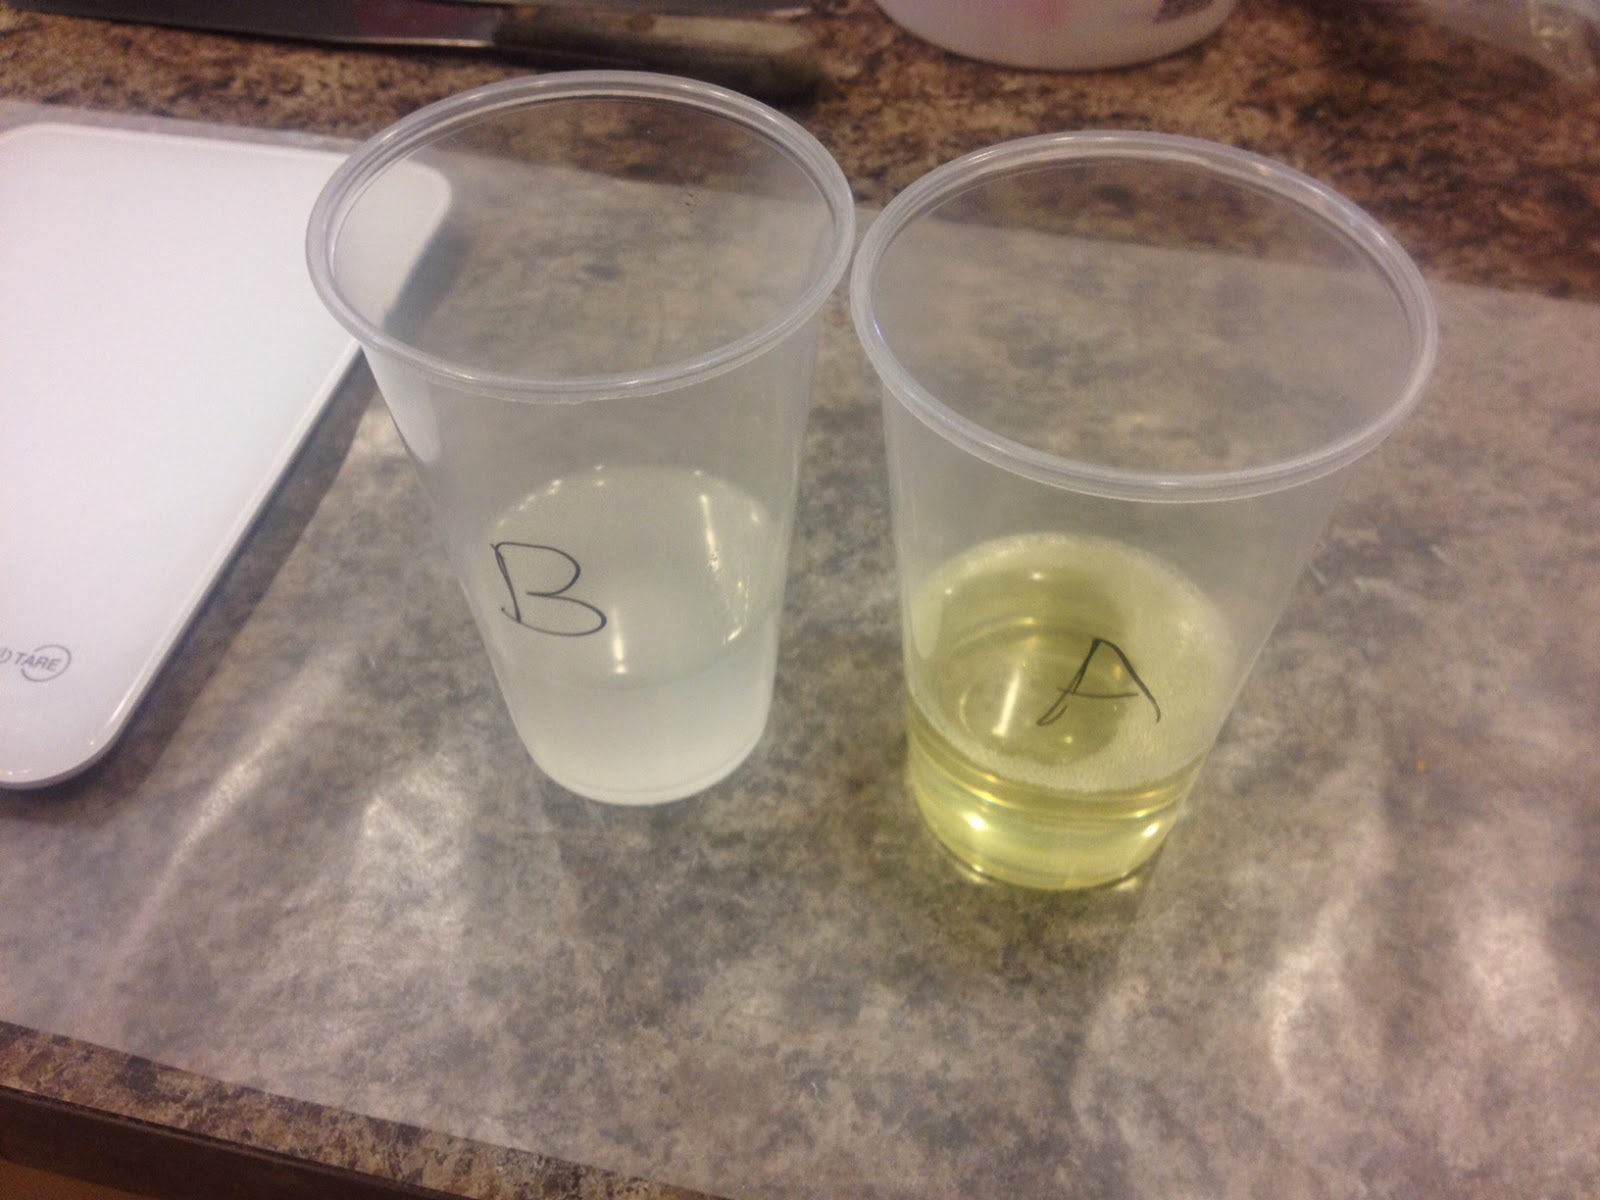
Mixing Silicone is something I'm also not 100% on yet. 14NV mixes at a 100 parts A to 10 parts B, math not being my strong suit I use the Smooth-On calculator for silicone to get a rough idea of how much I will need, and I tend to mix slightly more. (you can always have excess, can't always mix more in the middle of a pour). With a working time of 40 minutes and a demold of 4 hours its pretty quick to dry. I prefer not to discuss registration keys at this point as the first attempt (a different project had mixed results) so this is my second attempt and I certainly don't think it's been perfected just yet.


Once the first half of the mold was poured (I waited overnight) flipped the piece over and very carefully removed the clay backing layer - making sure that the kinfe did not dislodge itself from the silicone. A little cleaning of clay along the edges and from the silicone surface goes a long way at this point. I put the mold box back together and prepared it with more mold release. Mixed up another batch of silicone and it was on its way.


For resin, again I am using Smooth-Cast 305, because it's what I have laying around, given the opportunity for something of this size I would probably use Smooth-Cast 300. The difference being the working time, which I've discussed in a previous write-up. Or maybe Smooth-Cast Onyx to get closer to the overall finish of the piece instead of starting with a white cast.
The mold was cleaned with a soft cloth and my clay tools were used to remove all excess clay once the two halves were separated. I just down some 1/2 in MDF to act as a backer board for the mold since it needs to be poured standing up. The mold was prepped with baby powder - and the resin mixed and poured.

30 minutes later I had my first cast!
The first cast came out great, with a little bit of cleanup work, it will be ready for
paint.


This write-up has already gone on for too long, so next time we will paint and finish this pieces. I know there's a lot of information in this post so if anyone has a detailed question regarding any of it, please feel free to ask. Thank you for reading and I appreciate any and all feedback.
Cheers,
Kevin
No comments:
Post a Comment